From now on, logging in to Yuki will be done through Visma Connect. The login process is managed by a specialised company within the Visma Group, making it more secure — among other things because two-factor authentication is mandatory.
You only need to set this up once. After that, you can log in as usual.
What you need
- Your current Yuki password.
- Your phone to set up an authenticator app, or a password manager on your computer/laptop (see step 2).
- About five minutes and a secure place to store your backup code.
See it in action first
This video shows the complete migration process. If you prefer to read along, simply skip the video and follow the five steps below — they cover the same steps and show the same screens.
Step 1 — Go to the login page
Go to the Yuki login page and enter your email address. You will automatically be redirected to Visma Connect.
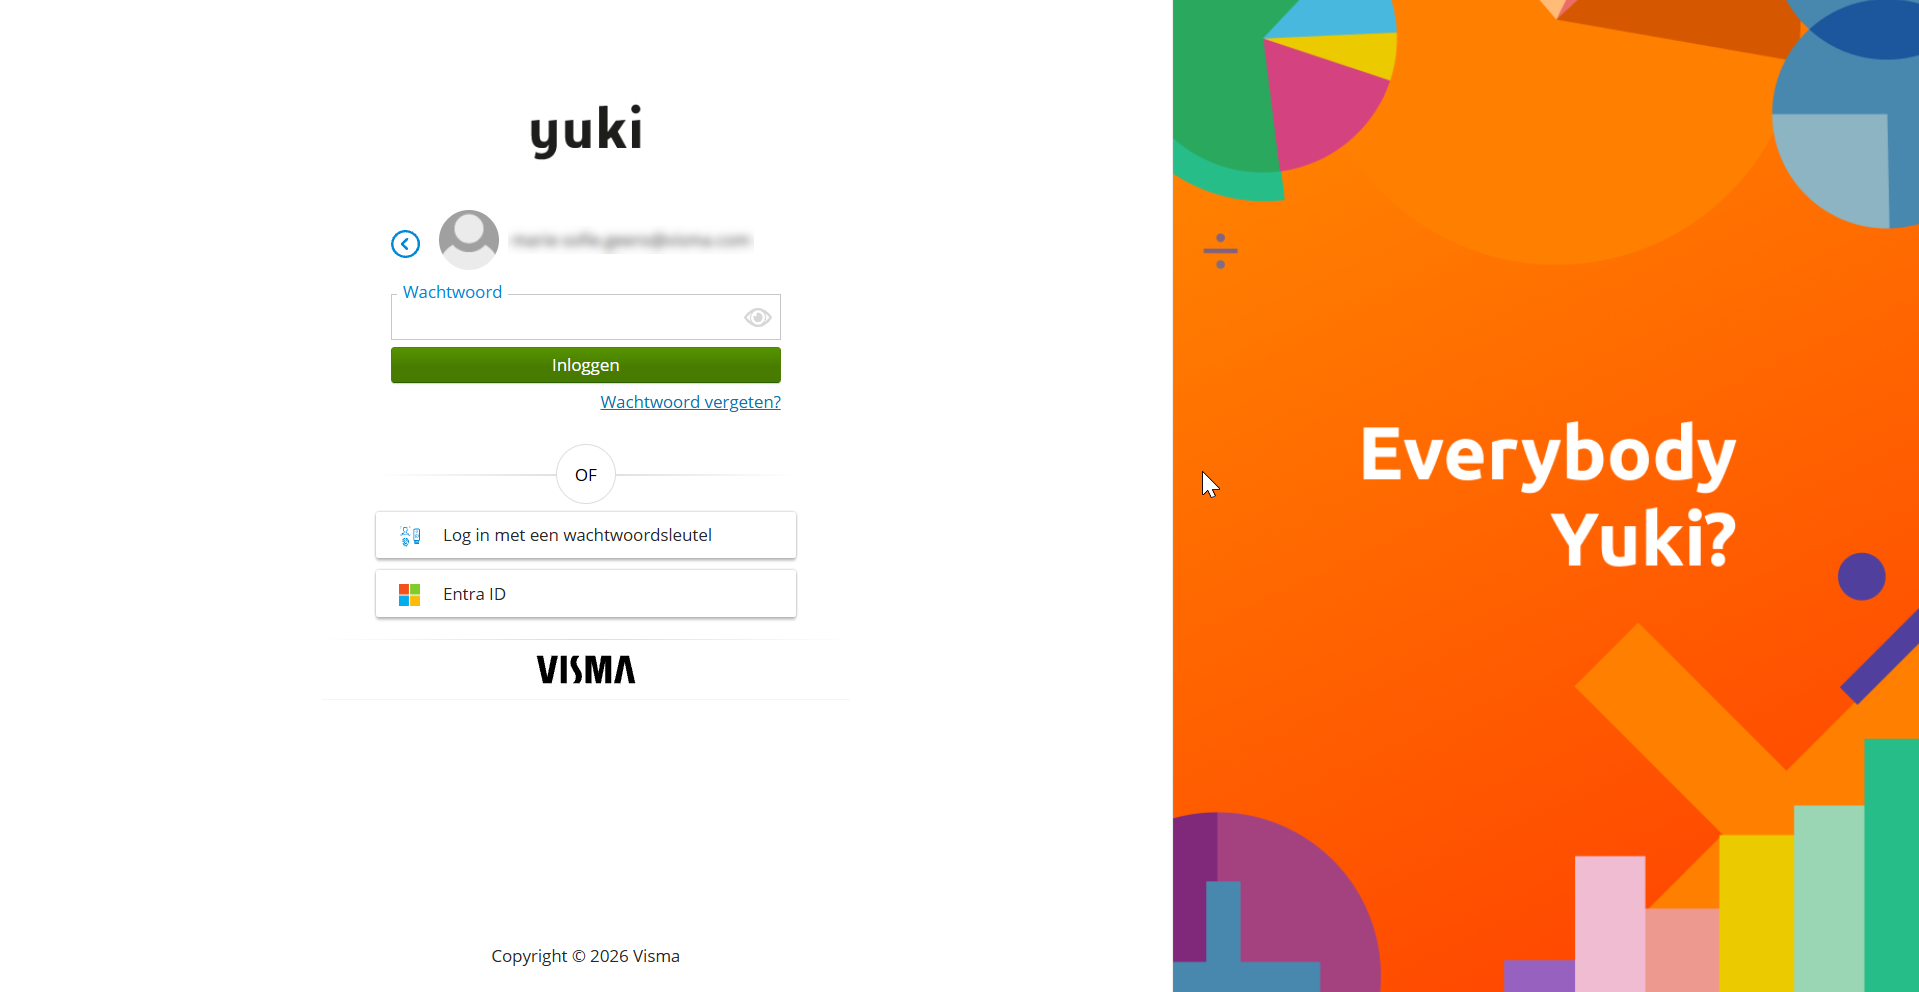
Then enter the password you currently use for Yuki and click Log in. You don't need to create a new password.
Is your password already strong enough? Then you can immediately continue to step 2.
Does Visma Connect ask you to create a new password? Your current password does not meet the new security requirements. This is not an error message.
- Enter your current Yuki password.
- Enter your new password twice below it.
- Click Change password.
The requirements your password must meet are shown on the right side of the screen. Your password will only be accepted once all requirements have been met. According to the current security requirements:
- At least 15 characters
Step 2 — Set up two-factor authentication
Visma Connect now asks you to add an extra layer of security: two-factor authentication, also known as 2FA. In addition to your password, there is a second verification step, so someone who only has your password cannot access your account. Think of it as two locks on the same door.
This step is mandatory and cannot be skipped.
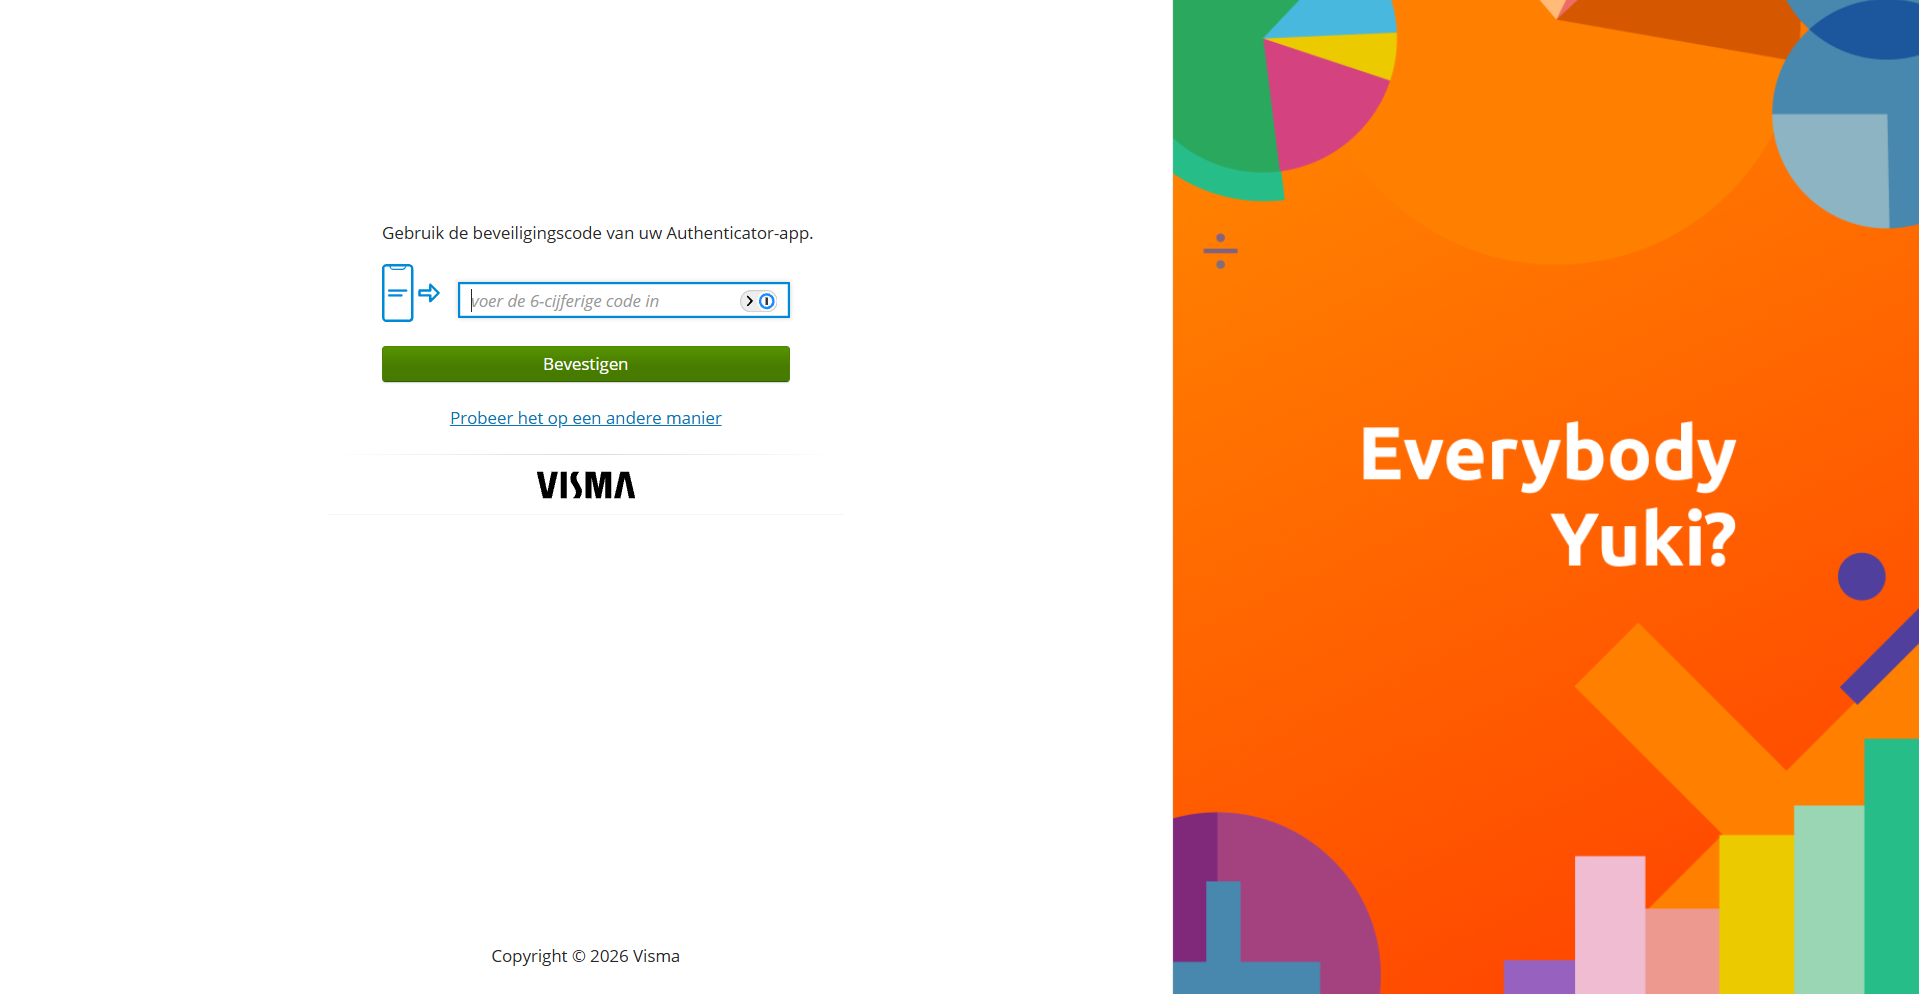
Did you already have two-factor authentication enabled in Yuki? Enter your usual six-digit code and click Confirm. You can then continue directly to step 4.
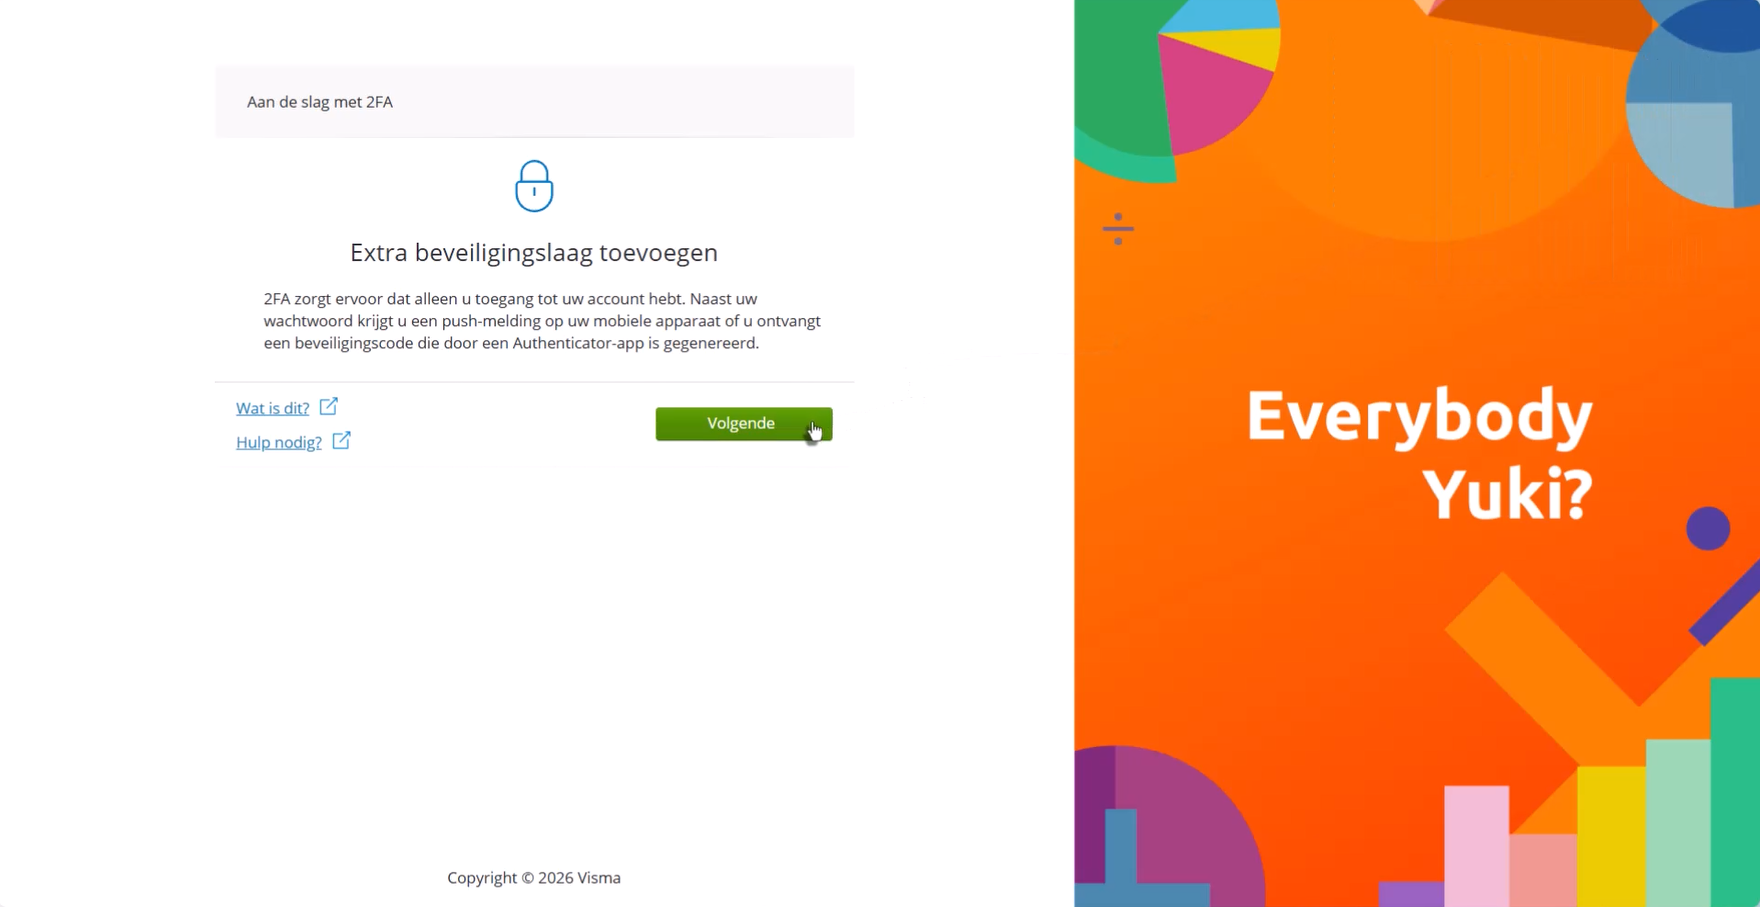
Don't have it set up yet? Click Next and set it up on the following screen.
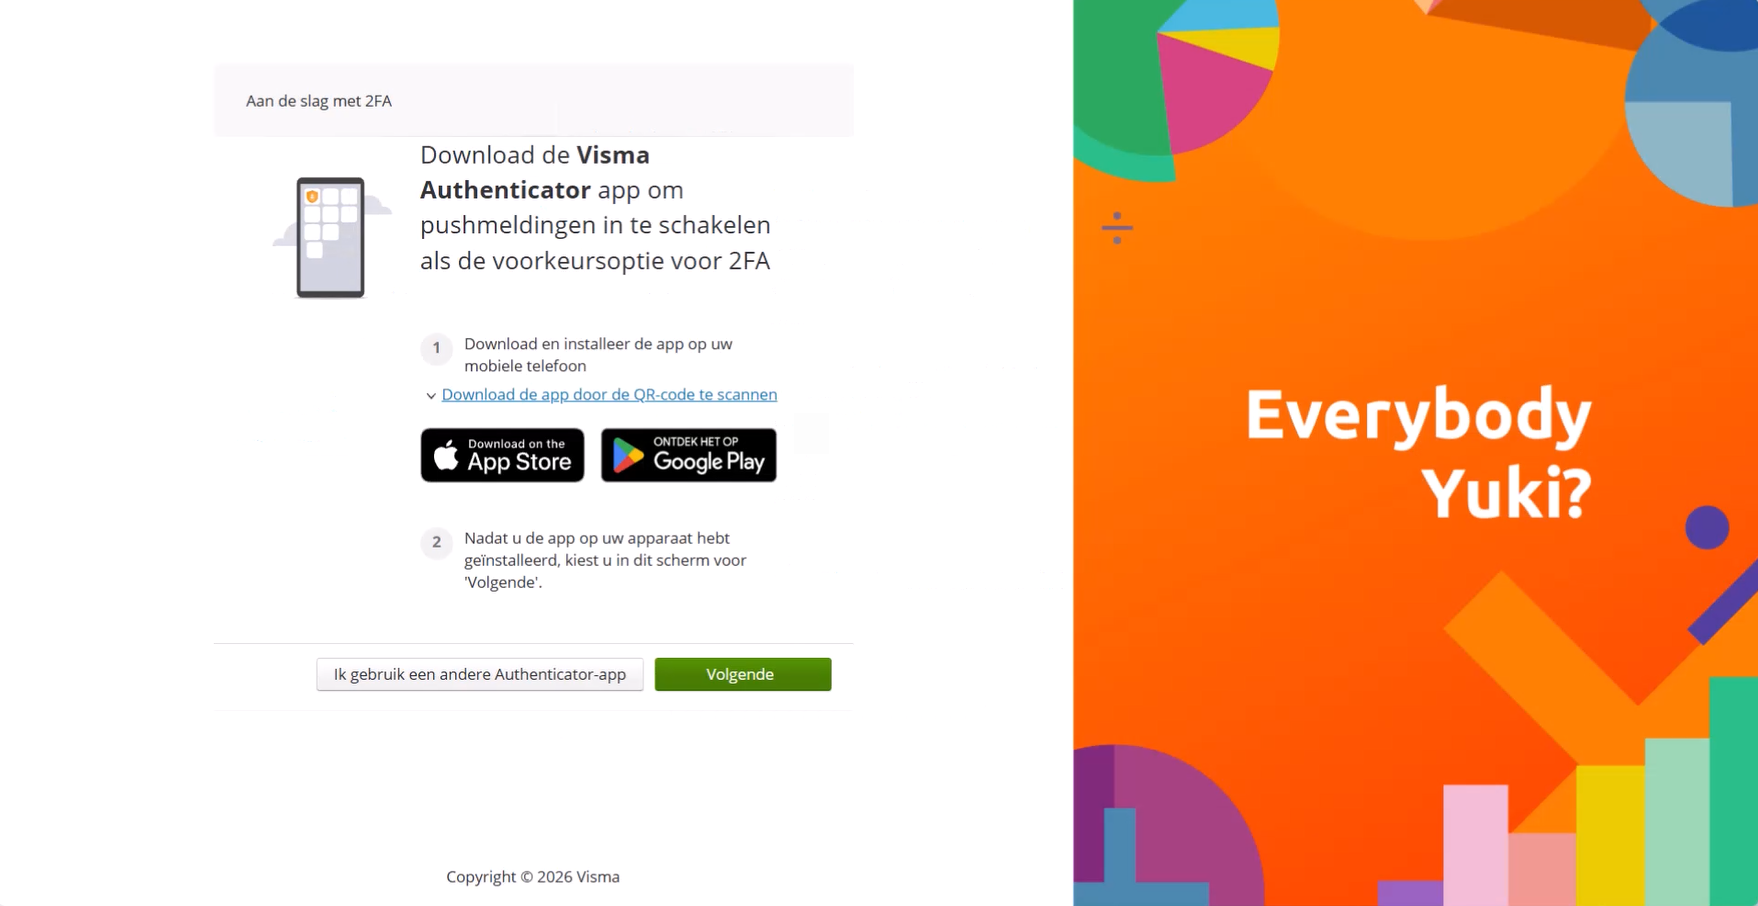
You need an authenticator method for this. Choose one of the three options:
- The free Visma Authenticator app. The code is sent to your phone via a push notification, so you don't need to type anything. This is the fastest option. The screen contains links to the App Store and Google Play.
- An app you already use, such as Google Authenticator or Microsoft Authenticator. In that case, click I use another Authenticator app.
- You don't have a smartphone: use a password manager on your computer or laptop and select I use another Authenticator app.
- The password manager will automatically generate and enter the one-time six-digit codes required to log in. You can use a password manager such as 1Password or Bitwarden. Other password managers can also be used.
- Tip: You can also install your password manager as a browser extension. In most cases, this allows the QR code to be scanned directly from the screen, so you don't need to enter the long code manually.
Then open your authenticator app or password manager and scan the QR code displayed on your screen.
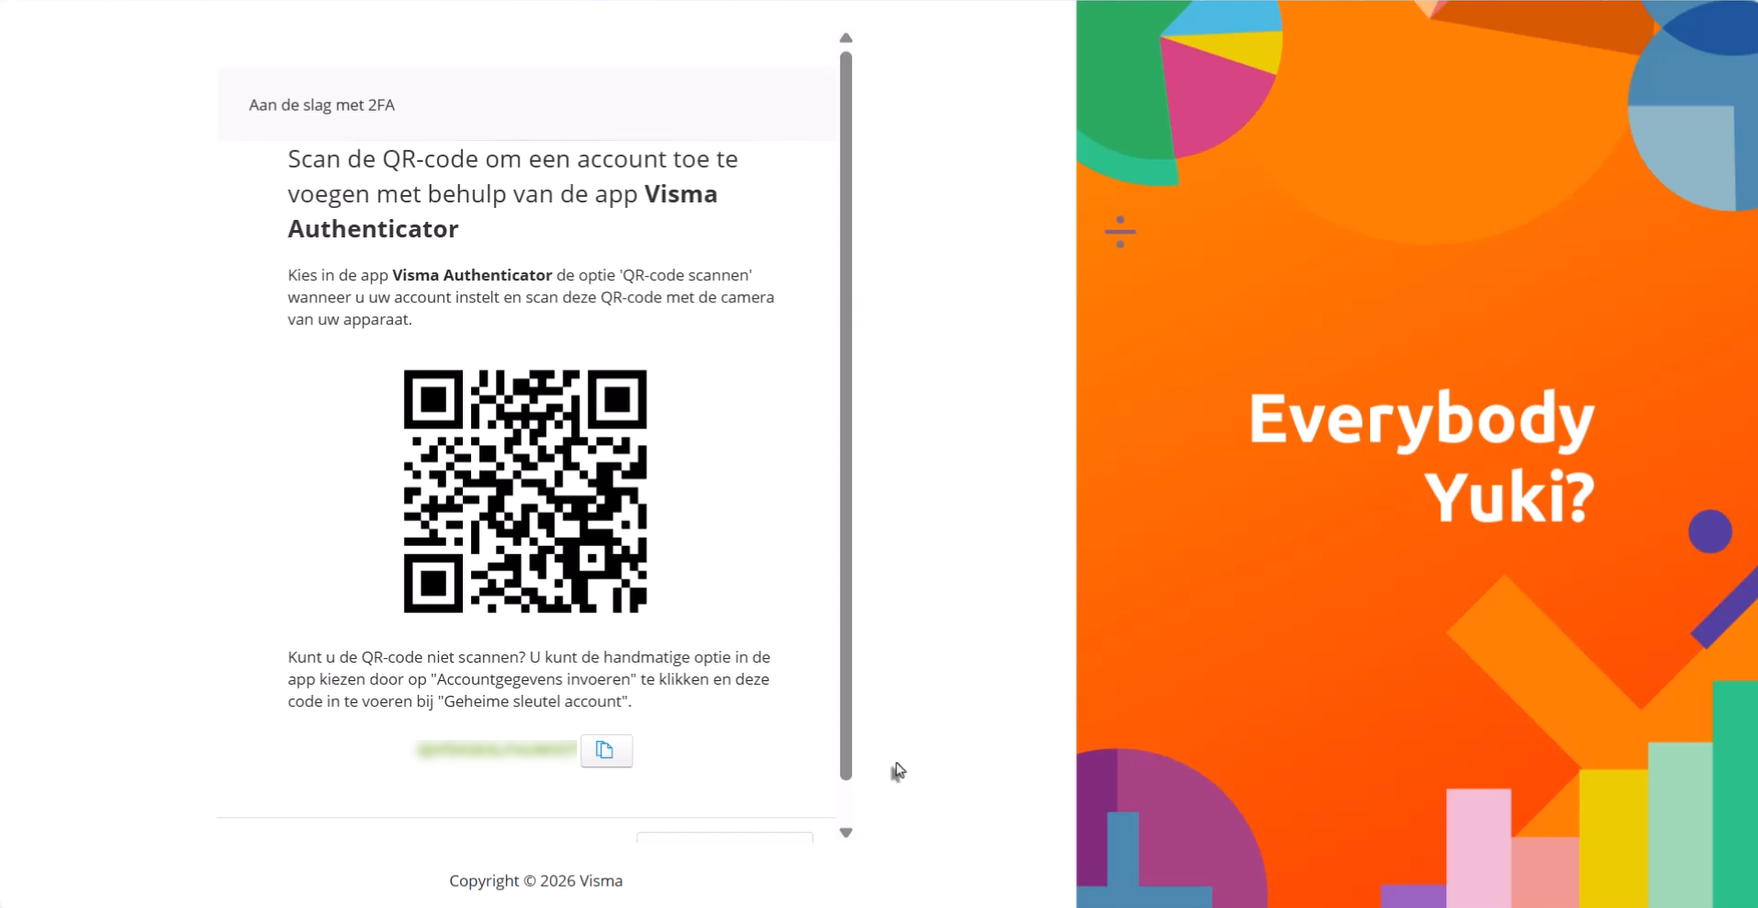
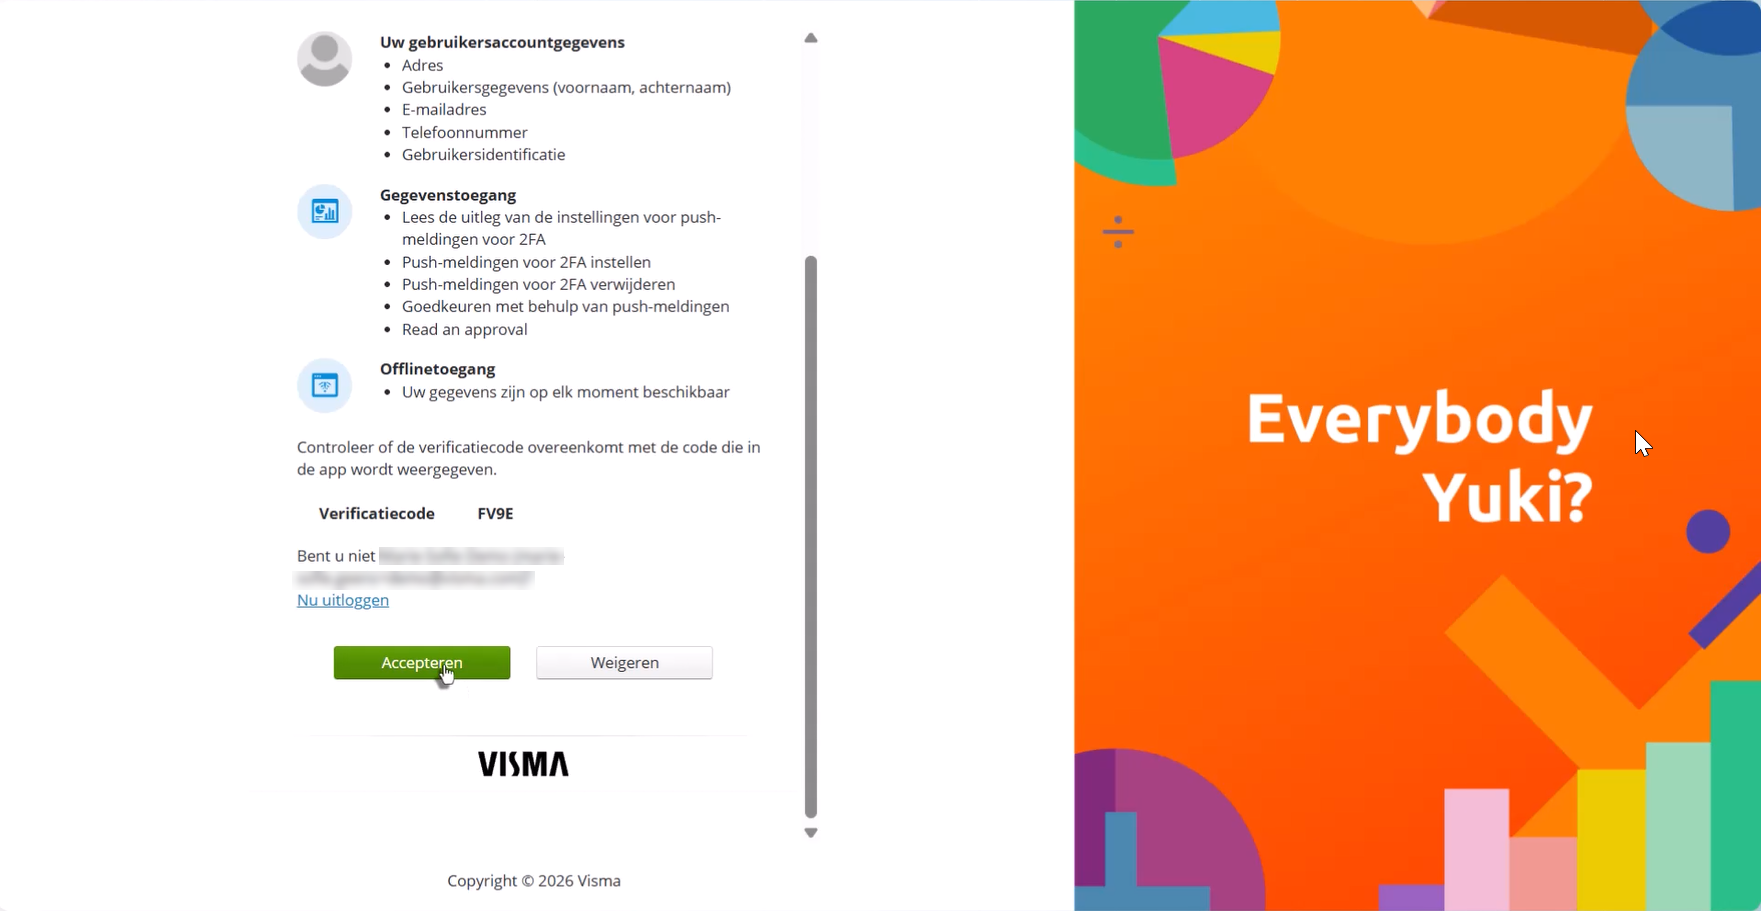
If you are using the Visma Authenticator app for the first time, you will be asked to accept the terms and conditions. Click Accept and you are done with this step.
Step 3 — SMS as a backup method (optional)
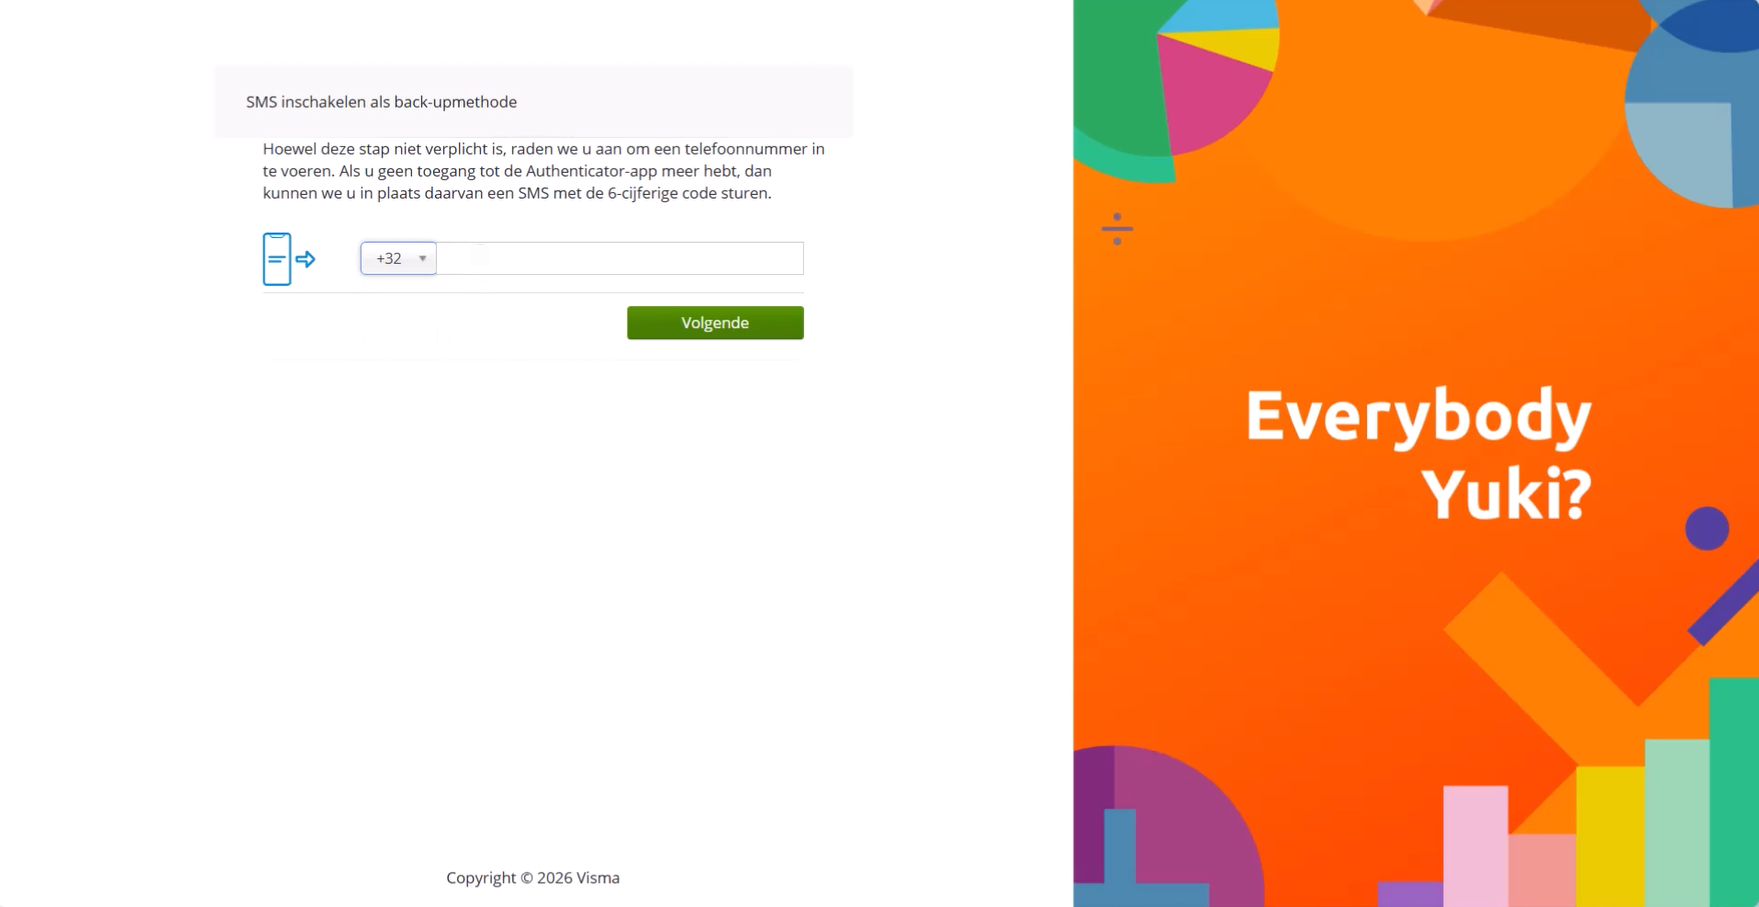
You can add a phone number so that you can also receive the six-digit code by SMS. This step is optional, but it gives you a backup option if you don't have access to your authenticator app.
- Select your country code and enter your phone number.
- Click Next.
- You will immediately receive an SMS with a verification code. Enter the code.
Step 4 — Save your backup code
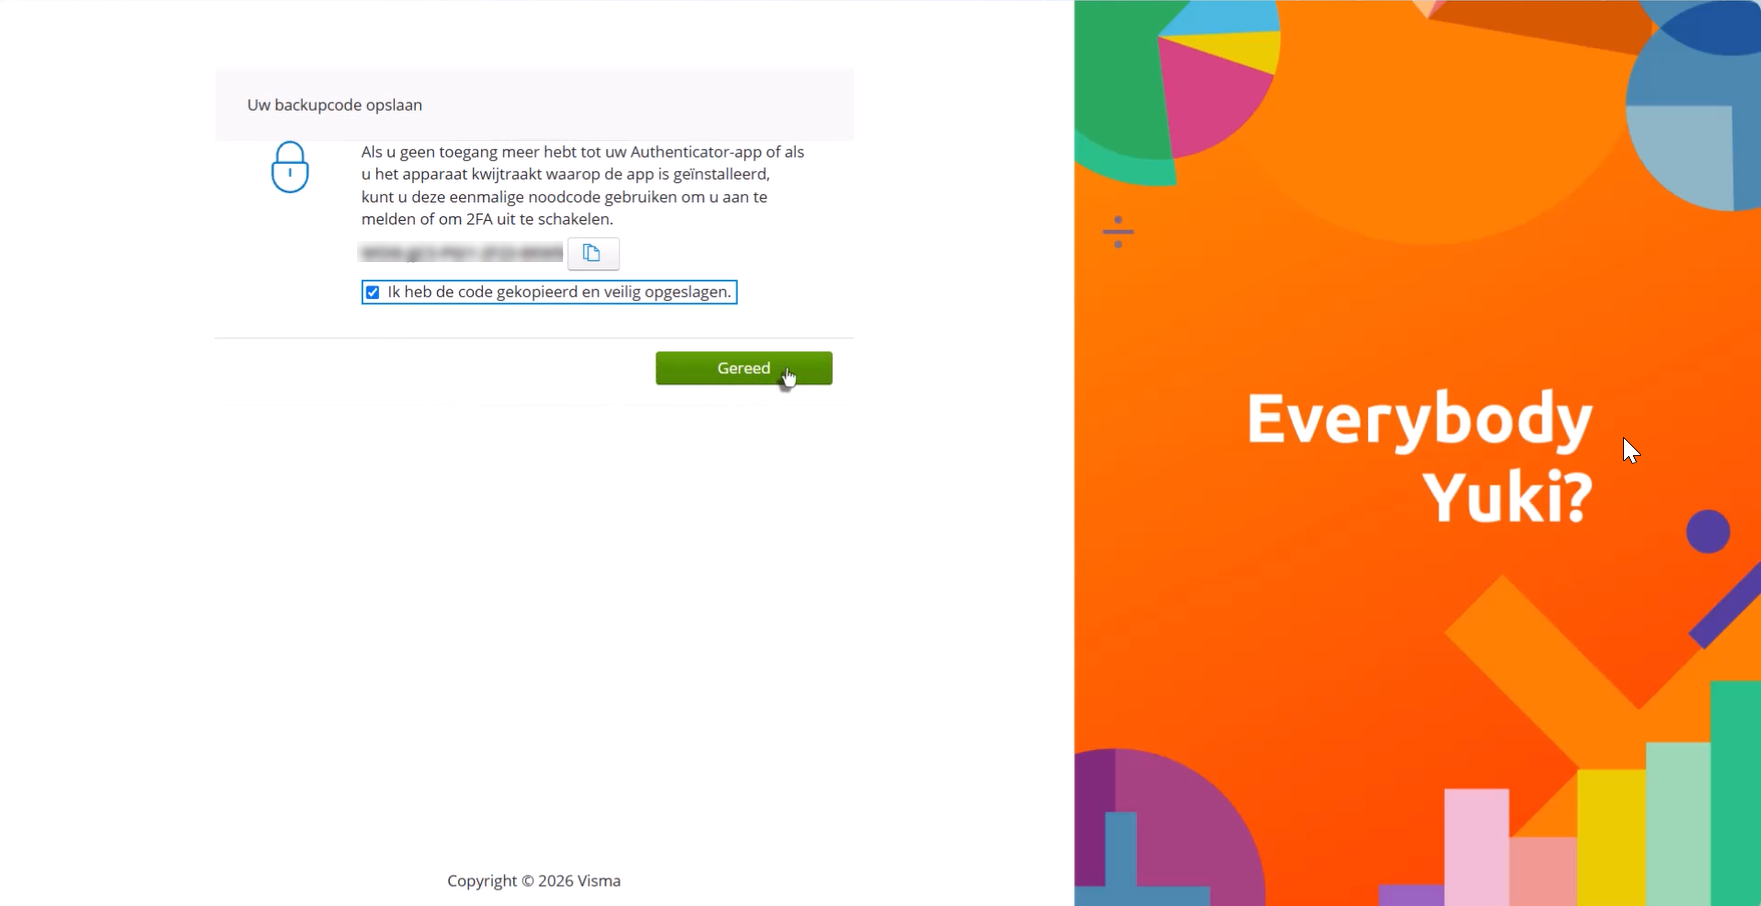
Finally, you will see a unique backup code. Do not skip this step. You will only see the code once.
If you lose your phone or no longer have access to your authenticator app, this is your emergency code to regain access to your account.
- Copy the code and store it somewhere safe, such as in a password manager or printed out and stored somewhere no one else has access to.
- Check I have copied and securely stored the code.
- Click Done.
Step 5 — You're done
You are now signed in through Visma Connect and logged in to Yuki. From now on, when logging in, enter your email address, followed by your password and then the code from your authenticator app.
Are you experiencing an issue?
- Log out completely and try again. You can also try logging in using an incognito window.
- Are you stuck while logging in or experiencing issues at a specific step? Be sure to check our recent notifications page first. There you’ll find an overview of all support articles that may help you with your situation.